Previously in the “Better Java Projects Faster with JHipster and Docker” tutorial
In the first installment of the “Better Java Projects Faster with JHipster and Docker” tutorial, I laid out several common challenges that we Java developers face. You saw how JHipster helped me to overcome these challenges last year — and I showed you how you could master them, too. I also described how to customize the feature set of JHipster and defined situations where JHipster is probably not right for you.
Goals for this installment
In this second installment of the tutorial, we get hands-on: We produce a fully working, production-ready Java 11 application with Angular and Spring Boot, complete with unit tests and automated browser tests, ready for Continuous Integration and deployment into the cloud:
- We install the necessary software.
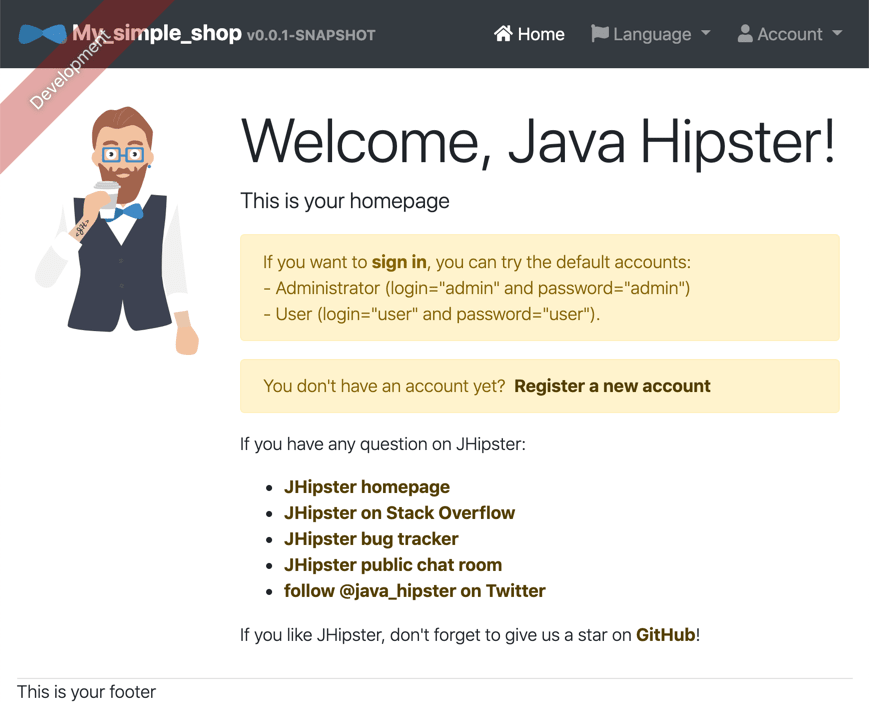
- We generate our first JHipster application.
- We fix some bugs in the generated code.
Want more?
If you want to read the whole tutorial, then head over to the second installment of the “Better Java Projects Faster with JHipster and Docker” tutorial.